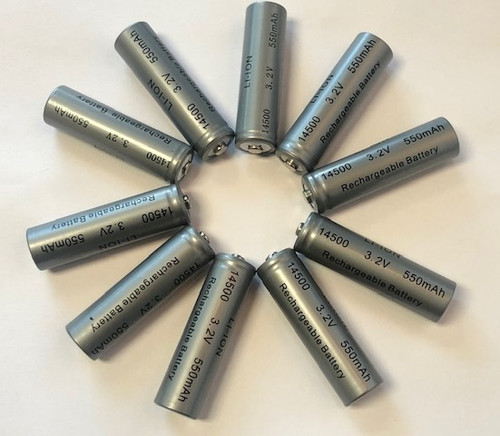
Gama Sonic Replacement Battery, 3.2V AA 1000mAh Single Battery Pack
Gama Sonic
- SKU:
- GS32V10
- UPC:
- 859641008315
- Availability:
- In stock, ships in 1 to 2 business days.
- Shipping:
- Free Shipping
This Gama Sonic replacement battery is a 3.2V AA rechargeable Lithium Ion battery with 1000mAh of storage capacity. It replaces the one battery that comes with the GS-139 and GS-239 Gama Sonic Solar Path Lights and other lights that require a single cell 3.2V AA 1000mAh replacement battery with a clip connection.
Gama Sonic Li-ion batteries are made to last for 2,000 on/off cycles, which is approximately 5 years, before requiring replacement.
Information on how to change out the Gama Sonic rechargeable battery pack:
Turn the fixture to the OFF position. Carefully remove the screws that are holding the protective cover in place on the bottom of the fixture head. Do use the proper size Phillips screwdriver head to avoid stripping the threads. Unsnap the existing battery clip from the circuitry by pushing in on the sides, and push the new battery wiring clip into the slot until it clicks. Reattach the protective cover to the fixture head, turn the fixture back ON, and install back onto the stake outdoors.
Do not pull the fixture head apart completely from the cover since the circuitry is all connected.
The original Gama Sonic battery pack, installed by the factory, is actually secured in the battery compartment with sticky foam type material. You will have to pull the old battery pretty hard to get it out, so be sure to do this AFTER you un-clip the battery from the circuitry.
It makes it a bit easier to close the cover and keep the battery in its compartment if you take a bit of packing tape, roll it to make it double sided tape, place it in the battery compartment area, then press the new battery itself onto the tape. This is just a handy hint since we had trouble keeping the new battery in place while trying to reattach everything.


